
Solar Imaging Workflow Guide (Seestar S50 Example)
Solar Imaging Workflow Guide
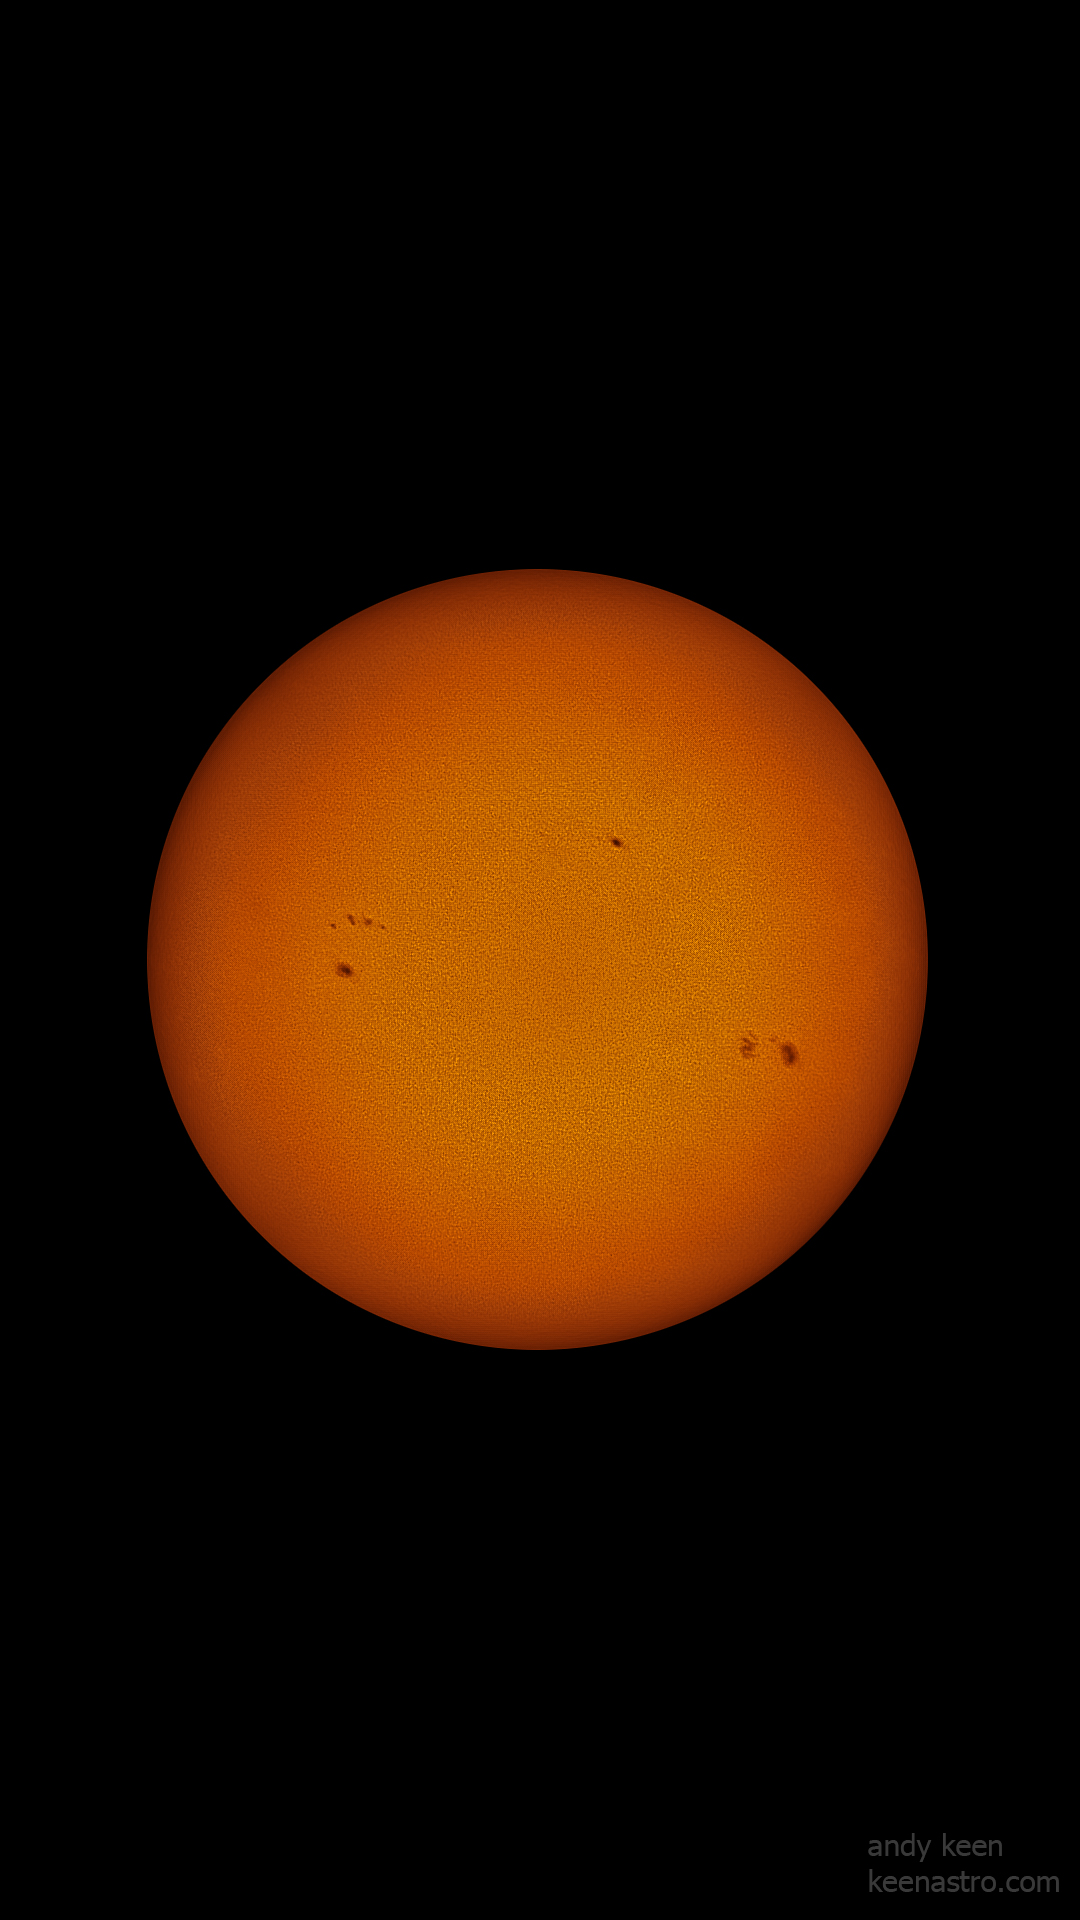
Example: Seestar S50
This complete workflow outlines how to process solar .AVI files using free or widely available tools, including: PIPP, AutoStakkert!, ImPPG, GIMP, PixInsight (with Cosmic Photon’s SolarToolbox), and optional Photoshop adjustments.
1. Pre-processing with PIPP
PIPP (Planetary Imaging PreProcessor) is used to trim your .AVI file and prepare it for stacking.
Step One: Load Your AVI or SER File
Open PIPP and load your raw .AVI or .SER file. This is the initial step in preparing your solar imaging data for alignment and quality selection.

Steps:
- Load your Seestar .AVI file into PIPP.
- Select “Solar/Lunar Full Disk” mode.
- Under Output Options:
- Output format: TIFF image sequence
- Bit depth: 16-bit
- Trim video duration (optional): Use the frame selector at the bottom to isolate the best portion.
- Click Start Processing.
Output: A folder of aligned TIFF images ready for stacking.
2. Stacking with AutoStakkert!
AutoStakkert! aligns and stacks the best frames to produce a high-quality solar image.
Step Two: Enable Solar Image Processing Mode
Tick the “Solar/Lunar Close Up Processing Mode” checkbox. This tells PIPP to optimise the processing for high-contrast objects like the Sun or Moon, centering the disc in every frame.

Steps:
- Drag the PIPP output file (e.g. TIFF or AVI) into AutoStakkert!
- Tick RGB Align and Sharpened (optional).
- Click Analyse.
- Place your AP grid (Alignment Points) — for solar full disk, use a large AP size like 104.
- Choose stacking percentages (e.g., 5%, 10%, 25%).
- Click Stack.
Output: A stacked, aligned FIT/TIFF image.
3. Post-processing with ImPPG
ImPPG is used for deconvolution, contrast enhancement, and sharpening.
Step Three: Add Your Video File
Click the “Add Image Files” button and select your solar video file (e.g., an .AVI file from the Seestar S50 or similar telescope). Once added, you should see the file path listed in the main window.

Steps:
- Open the stacked image in ImPPG.
- Adjust the Deconvolution (Lucy-Richardson) slider.
- Enable and tweak the Unsharp Mask and Histogram Stretch as needed.
- Make minor contrast changes in the Tone Curve panel.
- Export your result as a 16-bit TIFF.
Tip: Use a feathered mask or ellipse crop later to remove edge artifacts.
4. Optional Free Editing with GIMP
GIMP is a free image editor you can use in place of Photoshop.
Steps:
- Open your ImPPG output TIFF in GIMP.
- Use Colorize (under Colors > Colorize) to add natural solar hue.
- Use the Ellipse Select Tool to isolate the solar disk, then apply a feathered crop.
- Final adjustments:
- Curves and Levels
- Contrast
- Vignette cleanup
- Export as PNG or JPEG.
5. Advanced Processing with Cosmic Photon’s SolarToolbox in PixInsight
SolarToolbox is a PixInsight module created by Mike Cranfield and Bill Blanchan.
Repository: https://www.cosmicphotons.com/pi-modules/solartoolbox/
Requires: PixInsight 1.8.9-2 build 1597 or later
YouTube Tutorial by Bill Blanchan:
Watch the Solar Toolbox Guide
Steps:
- Install SolarToolbox from the repository URL above.
- In PixInsight, go to Process > All Processes > SolarToolbox.
- Load your stacked and pre-processed TIFF.
- Use the real-time preview features for:
- Colorisation
- Edge glow reduction
- Contrast & sharpness enhancement
- Prominence boosting (proprietary stretch)
- Apply and save your result.
Note: Excellent for full-disk solar shots with Ha detail.
6. Optional Finishing in Photoshop
If you prefer Photoshop for final edits:
Steps:
- Import your image.
- Use Levels and Curves for exposure tweaks.
- Add a feathered mask around the disk edge to blend background.
- Use Selective Color or Hue/Saturation for artistic colour control.
- Clean up with Healing Brush or Clone Stamp if needed.
Tip: Photoshop allows easier retouching, but GIMP can do the same if you’re on a budget.
Final Notes
- All tools used in this workflow are either free or widely available.
- This guide is not limited to the Seestar S50 — it can be adapted to any solar telescope that outputs video/image sequences.
- We encourage you to share your results and tag the software developers and community contributors.