Introduction
With your stacked master light ready, it’s time to begin one of the most critical stages of the workflow. This is where the raw stack starts its journey into a polished astrophotograph. The goal here is to clean the data, keep as much high-quality signal as possible, and prepare the image for colour calibration.
1️⃣ Open Your Master Light
Start by opening your stacked master light file in PixInsight. This is usually the .xisf or .fits file created by WBPP or your stacking software.
💡 Pro Tip: If you’ve created multiple masters (e.g. luminance, RGB), work on them one at a time.
2️⃣ Save Your Project Immediately
Before you do anything else, save as a PixInsight project (File → Save Project As).
💡 Save frequently and create duplicates of the image after major steps. This gives you safe rollback points.
📷 [Placeholder: Screenshot of Save Project dialog]
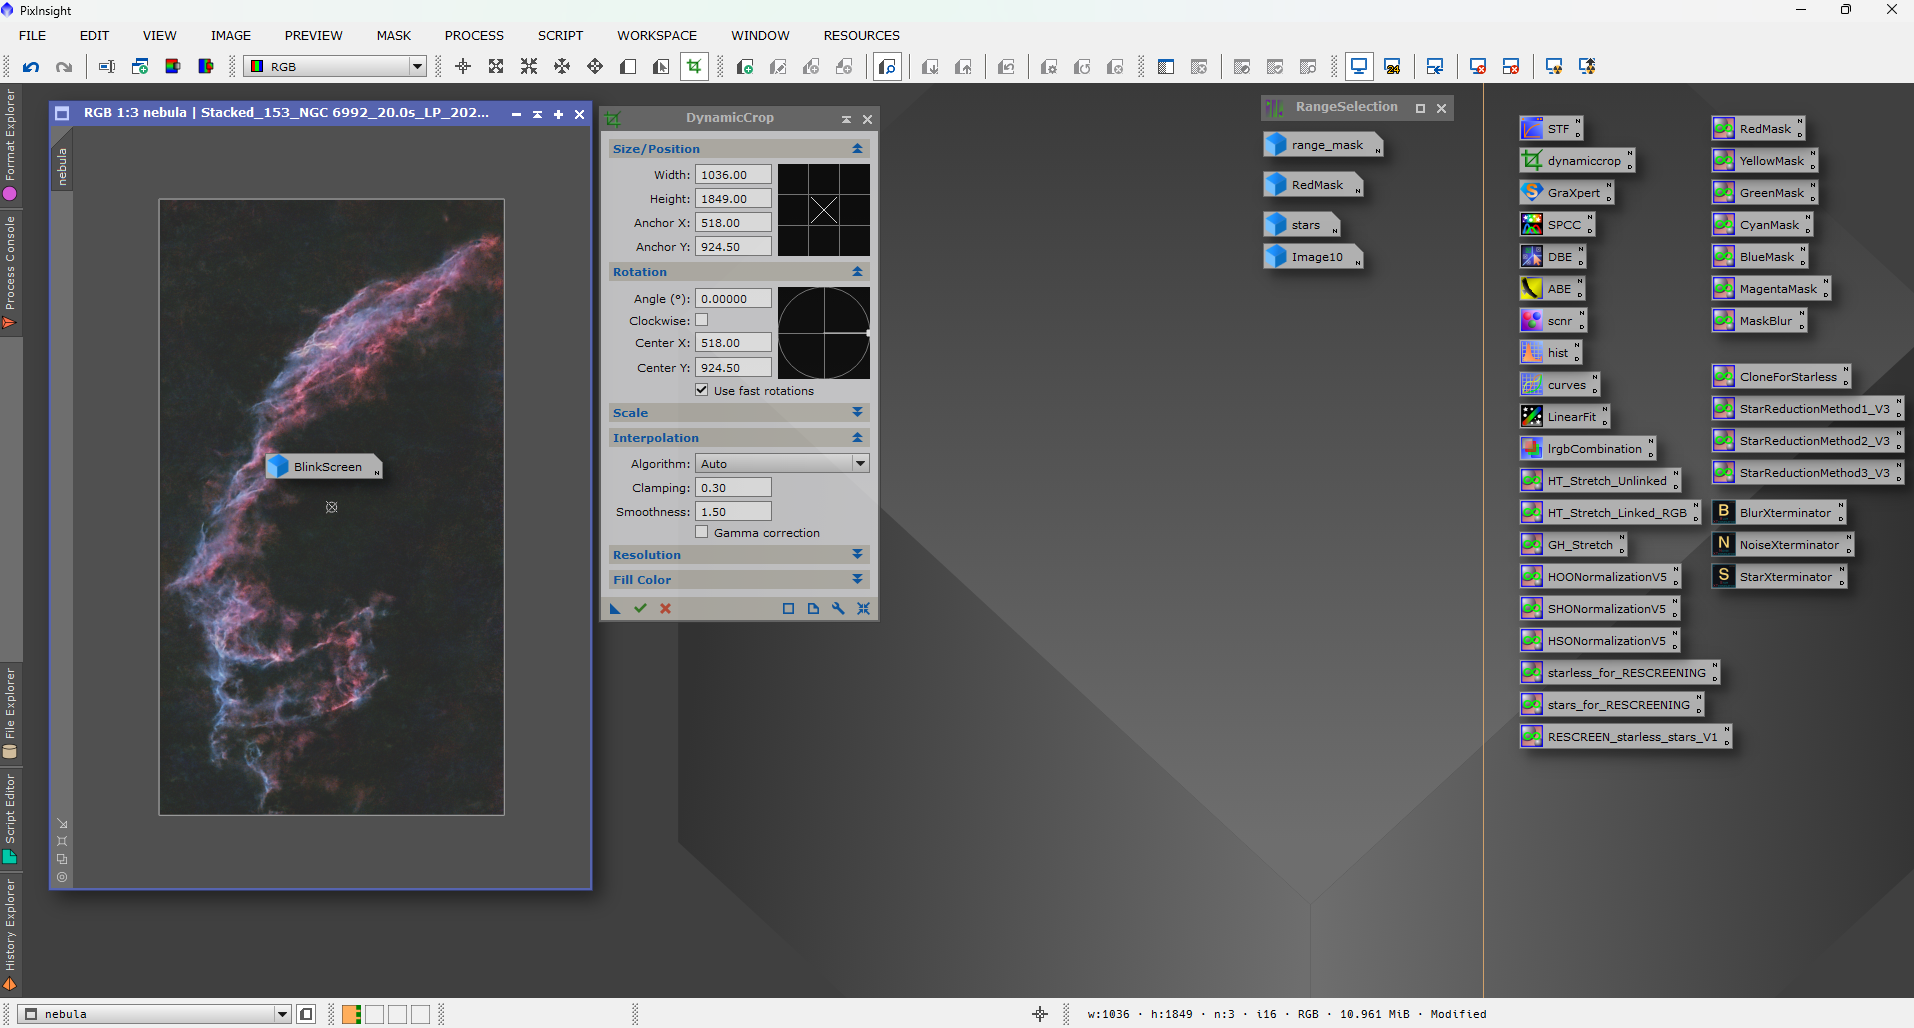
3️⃣ Inspect and Crop the Frame
Zoom in to check for artefacts or registration errors along the edges.
- Use Dynamic Crop to trim only where necessary.
- Keep the crop minimal to retain field coverage.
📷 [Placeholder: Screenshot showing Dynamic Crop applied to a master]
4️⃣ Remove Gradients with GraXpert
Run GraXpert to fix vignetting and sky gradients.
- Use AI mode with “High Quality” enabled.
- Carefully check the result to ensure no real structures are lost.
📷 [Placeholder: Screenshot of GraXpert interface]
5️⃣ Analyse Star Quality (FWHM & Eccentricity)
Before sharpening, evaluate your stars:
- Extract the CIEL* component (
Image → Extract → CIEL*). - Open FWHMEccentricity (
Script → Image Analysis → FWHMEccentricity). - Run the script on the greyscale image.
- Note the Median FWHM and Eccentricity.
- Lower FWHM = sharper stars.
- Eccentricity closer to 0.4–0.5 = round stars.
📷 [Placeholder: Screenshot of FWHMEccentricity results]
6️⃣ Create an Accurate PSF for BlurXterminator
For the best deconvolution results:
- Use the CIEL* image or luminance channel.
- Open DynamicPSF (
Process → Image Analysis → DynamicPSF). - Select several unsaturated, round stars in a preview region.
- Let PixInsight calculate the PSF.
- In BlurXterminator, untick Automatic PSF and enter the measured diameter manually.
📷 [Placeholder: Screenshot of DynamicPSF with selected stars]
7️⃣ Run BlurXterminator
Apply BlurXterminator using the manual PSF:
- Start with default sharpening (~0.5).
- Check for ringing and over-sharpening.
- Subtle adjustments preserve natural star profiles.
📷 [Placeholder: Screenshot of BlurXterminator settings panel]
8️⃣ Apply NoiseXterminator While Linear
Noise reduction now prevents “baking in” noise during stretching:
- Start with default settings or lower to ~0.45 for faint detail preservation.
- The aim is to improve the Signal-to-Noise Ratio (SNR) without losing structure.
📷 [Placeholder: Screenshot of NoiseXterminator settings]
9️⃣ Save Your Work
At this point you have:
✅ Cropped and cleaned the frame
✅ Balanced the background
✅ Measured and sharpened stars
✅ Reduced noise while linear
Your image is now ready for colour calibration and enhancement, which we’ll cover in the next stage.
✅ Quick-Reference Checklist
- Open the master light file in PixInsight.
- Save project immediately and create duplicates after major steps.
- Inspect and crop edges with Dynamic Crop.
- Run GraXpert to remove gradients.
- Extract CIEL* and measure FWHM/Eccentricity.
- Build an accurate PSF with DynamicPSF and enter it manually in BlurXterminator.
- Apply BlurXterminator carefully.
- Run NoiseXterminator while still linear (target SNR balance).
- Save again – you’re ready for SPCC and colour work.