
Photographing & Processing the Milky Way – A Complete Step-by-Step Guide
This comprehensive guide covers every stage of Milky Way astrophotography – from choosing the right night and planning your composition to capturing, stacking and blending for professional-quality results. It is designed to be a clear, practical workflow you can follow in the field and back at your computer.
By Andy Keen – Keen Astro – 3 August 2025 | keenastro.com
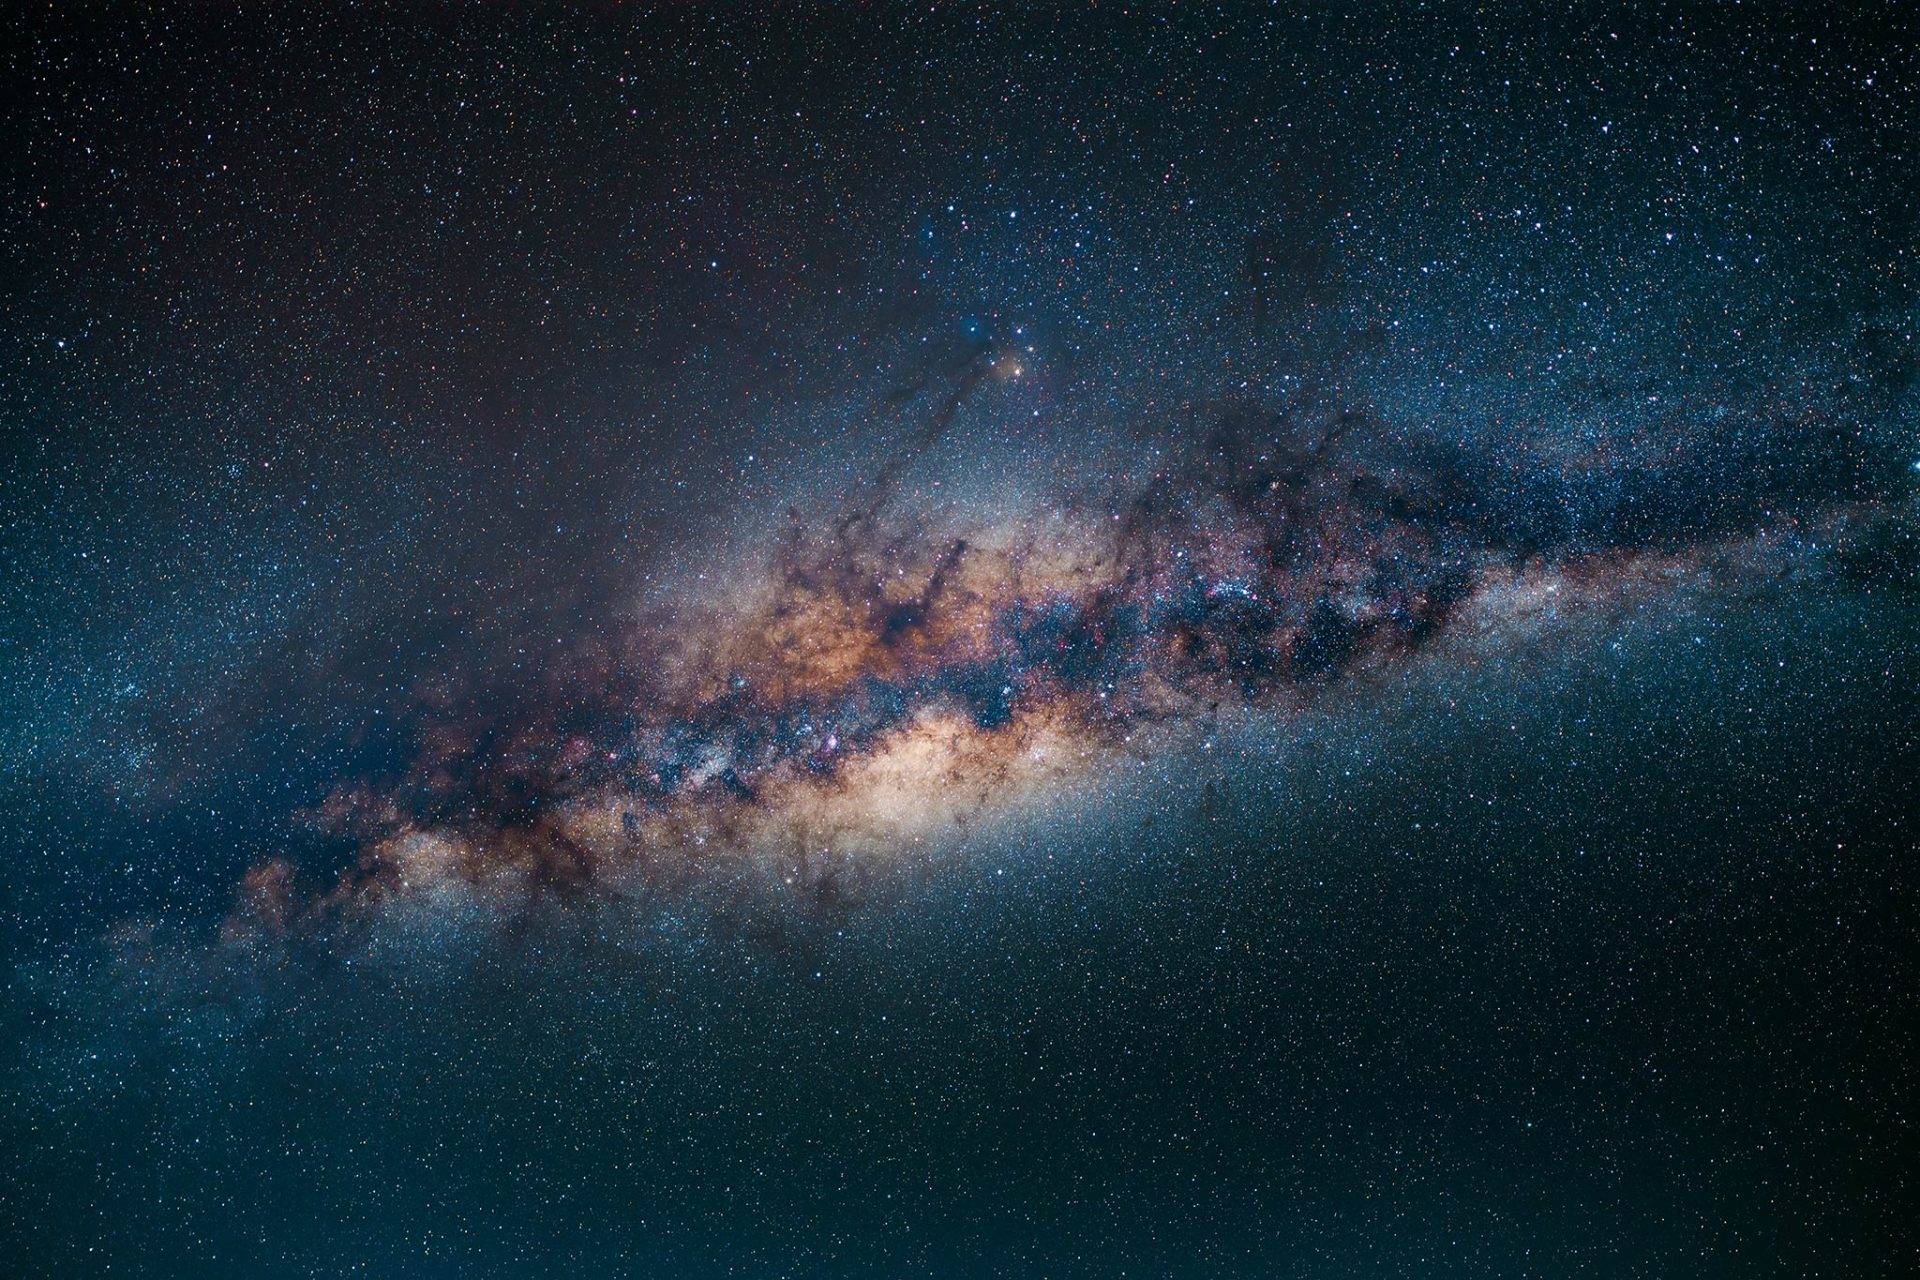
What Is the Milky Way?
The Milky Way is our home galaxy, a barred spiral with hundreds of billions of stars, gas clouds and dark dust lanes. From Earth it appears as a luminous band sweeping across the night sky, especially prominent in rural areas far from light pollution. The galactic core, near the constellation Sagittarius, is the richest region for astrophotography, filled with intricate structure and subtle colours.
Capturing it well requires more than pointing a camera upwards. You need to plan when and where it will appear, frame it with a compelling foreground, and use the right techniques to bring out the hidden detail. This guide walks you through that entire process step by step.
Planning Your Milky Way Shoot
Success with Milky Way photography starts before you set up the tripod. Careful preparation is what transforms a simple star field into a striking image with depth and impact.
Season & Timing
In the northern hemisphere, the Milky Way core is visible from late spring through summer, peaking between May and September. In the southern hemisphere, the season runs from March to October, with the core climbing high in winter months. Aim to shoot between the end of astronomical twilight and around 2 am when the core is highest in the sky.
Moon Phase
Dark skies are essential. Plan around the Moon using a lunar calendar. A new moon is ideal, but you can also shoot in the week either side if you work after moonset. Even a thin crescent can wash out the dust lanes and reduce contrast, so timing is everything.
Sky Darkness & The Bortle Scale
The Bortle scale rates sky quality from 1 (pristine) to 9 (city centre). For Milky Way work, Bortle 1–3 skies are optimal. If the Milky Way is faint to the naked eye, the camera will capture less structure and colour. Travelling to a dark site is often the single biggest improvement you can make to your images.
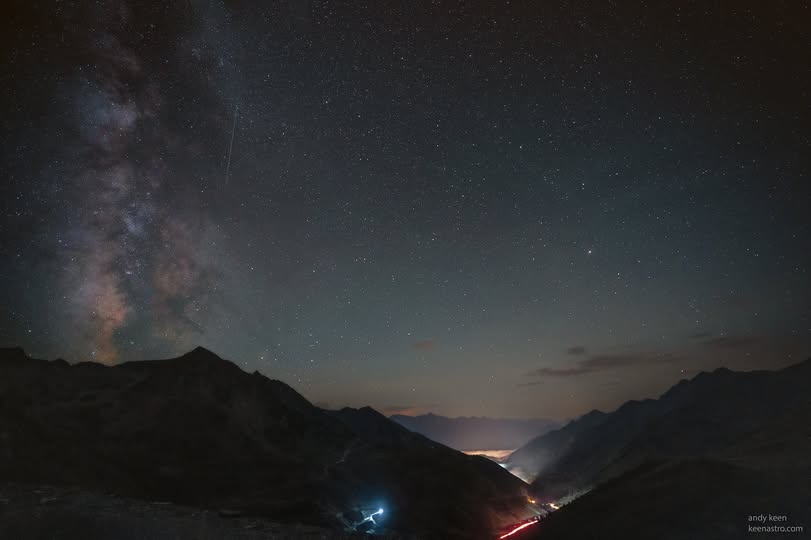
Location & Foreground
A strong foreground adds context and scale. Lone trees, coastal cliffs, rock arches or old ruins all work well. Visit in daylight to plan your composition and check for hazards. Think about how the Milky Way will align with your chosen subject during the shoot.
Planning Tools
Apps such as PhotoPills and Stellarium are invaluable. PhotoPills allows you to visualise the Milky Way’s position in augmented reality on-site. Stellarium provides desktop planning, helping you align your chosen location with the sky. Combining the two ensures accuracy and saves wasted trips.
Fieldcraft & Preparation
Small details in the field make a noticeable difference to the final image:
- Stable platform: Use a solid tripod. If it’s breezy, hang a weight or your bag under the centre column to reduce vibration.
- Dew control: Use dew heaters or a simple hand warmer on the lens to keep optics clear through the night.
- Batteries: Cold drains power quickly. Keep spares in an inside pocket to stay warm.
- Focus stability: Allow the camera and lens to reach ambient temperature before focusing to avoid focus drift mid-session.
- Weather transparency: Dry, clear air is more important than perfect “seeing” for wide-field shots. Nights following rainfall often produce crystal-clear skies.
Recommended Gear
You don’t need the most expensive equipment to capture the Milky Way, but the right choices make the process easier and the results cleaner.
| Type | Examples | Why It Matters |
|---|---|---|
| Camera | Canon R5/R6, Nikon Z6II/Z7II, Sony A7IV/A7III | Full-frame sensors excel in low light with reduced noise and better dynamic range. Crop-sensor bodies work too – use wider lenses and consider stacking to compensate for noise. |
| Lenses | Sigma 14 mm f/1.8, Sony 20 mm f/1.8 G, Nikon Z 14–24 mm f/2.8 | Fast apertures (f/1.4–f/2.8) gather more light and capture more detail. Low coma is critical to keep stars sharp to the edges. |
| Tripod | Gitzo Mountaineer, Manfrotto 055, Rollei C6i | A stable tripod prevents blur. Carbon fibre is lighter to carry and resists vibration. |
| Star Tracker | Sky-Watcher Star Adventurer, iOptron SkyGuider Pro, MSM Nomad | Tracks Earth’s rotation, enabling multi-minute exposures at lower ISO for maximum quality. |
| Accessories | Remote shutter, dew heaters, spare batteries | Essential for minimising vibration, keeping optics clear and shooting through the night. |
Capturing the Milky Way
There are two main approaches: a single exposure (one-shot) or multiple frames stacked to reduce noise.
Single-Exposure Images
For a one-shot image, use your widest aperture, set ISO between 1600–3200 and calculate shutter speed using the 500 Rule (500 divided by focal length on full-frame). For a 14 mm lens, that’s around 20–25 seconds. Focus manually on a bright star using magnified live view until it’s sharp.
Stacked Images
For the cleanest result, capture 10–30 identical frames. Use an intervalometer or the camera’s built-in timer. Stacking averages out noise and pulls out faint details invisible in a single exposure.
Using a Star Tracker
A tracker compensates for Earth’s rotation, letting you shoot longer exposures at lower ISO. Accurate polar alignment is key:
- Level the tripod to provide a stable base.
- Find the celestial pole: Polaris in the north, Sigma Octantis (or app-assisted alignment) in the south.
- Use the tracker’s polar scope or an app overlay to fine-tune alignment.
- Set the tracking rate to “sidereal” for Milky Way imaging.
When using a tracker, the sky stays sharp but the ground blurs. Capture a separate low-ISO foreground frame and blend later for the best results.
Calibration Frames for Maximum Quality
Calibration frames help remove sensor noise, dust and optical flaws, producing a cleaner final stack:
- Bias frames: Fastest shutter speed, lens cap on. Removes read noise.
- Darks: Same exposure/ISO as lights, cap on. Removes hot pixels and thermal noise.
- Flats: Evenly illuminated frame at same focus/aperture. Corrects vignetting and dust.
- Dark flats: Same exposure as flats if longer than 1 s, removes sensor noise from flats.
Stack each set into a master file. Bias and darks can often be reused; flats should be retaken after any optical change.
Stacking & Blending Workflow
Windows (Sequator): Load light frames and any calibration frames. Mask the foreground to keep it fixed. Sequator aligns and stacks automatically.
Mac (Starry Landscape Stacker): Import RAW files, mark the sky and foreground. The software locks the landscape and aligns the stars.
Manual (Photoshop): Load all frames as layers, align them, convert to a Smart Object and apply Median stack mode to reduce noise.
For blending, combine a stacked sky with a low-ISO, long-exposure foreground. Use careful masking in Photoshop or Affinity to merge them naturally for maximum detail and minimal noise.
Post-Processing
- Develop RAWs in Lightroom or ACR. Start with a neutral white balance (around 5000 K).
- Apply gentle contrast and adjust black levels to reveal dust lanes.
- Stack sky frames using Sequator or Starry Landscape Stacker.
- Blend the sky with your foreground exposure using layer masks.
- Apply Dehaze carefully to enhance structure. Avoid heavy saturation for a natural look.
- Finish with selective noise reduction and sharpening for fine detail.
Troubleshooting
- Star trails? Shorten the exposure or improve polar alignment on a tracker.
- Too much noise? Stack more frames or use a lower ISO with a tracker.
- Soft stars? Refocus with magnified live view and let the lens settle to ambient temperature.
- Uneven blend? Match colour temperature between sky and foreground and use feathered masks.
FAQ
Can I use a DSLR kit lens?
Yes. Use the widest focal length and aperture available. Faster wide lenses improve results, but you can still capture the Milky Way with a kit lens and careful processing.
Do I need a star tracker?
No, but it allows longer exposures and cleaner images. For the highest quality, a tracker is highly recommended.
What about crop-sensor cameras?
They work well. Use wider lenses (10–16 mm equivalent) and consider stacking to manage noise at higher ISO.
Which filters are useful?
Light pollution filters can help under moderate skies (Bortle 4–6). Avoid strong narrowband filters for Milky Way work as they block much of the continuum light.