Introduction
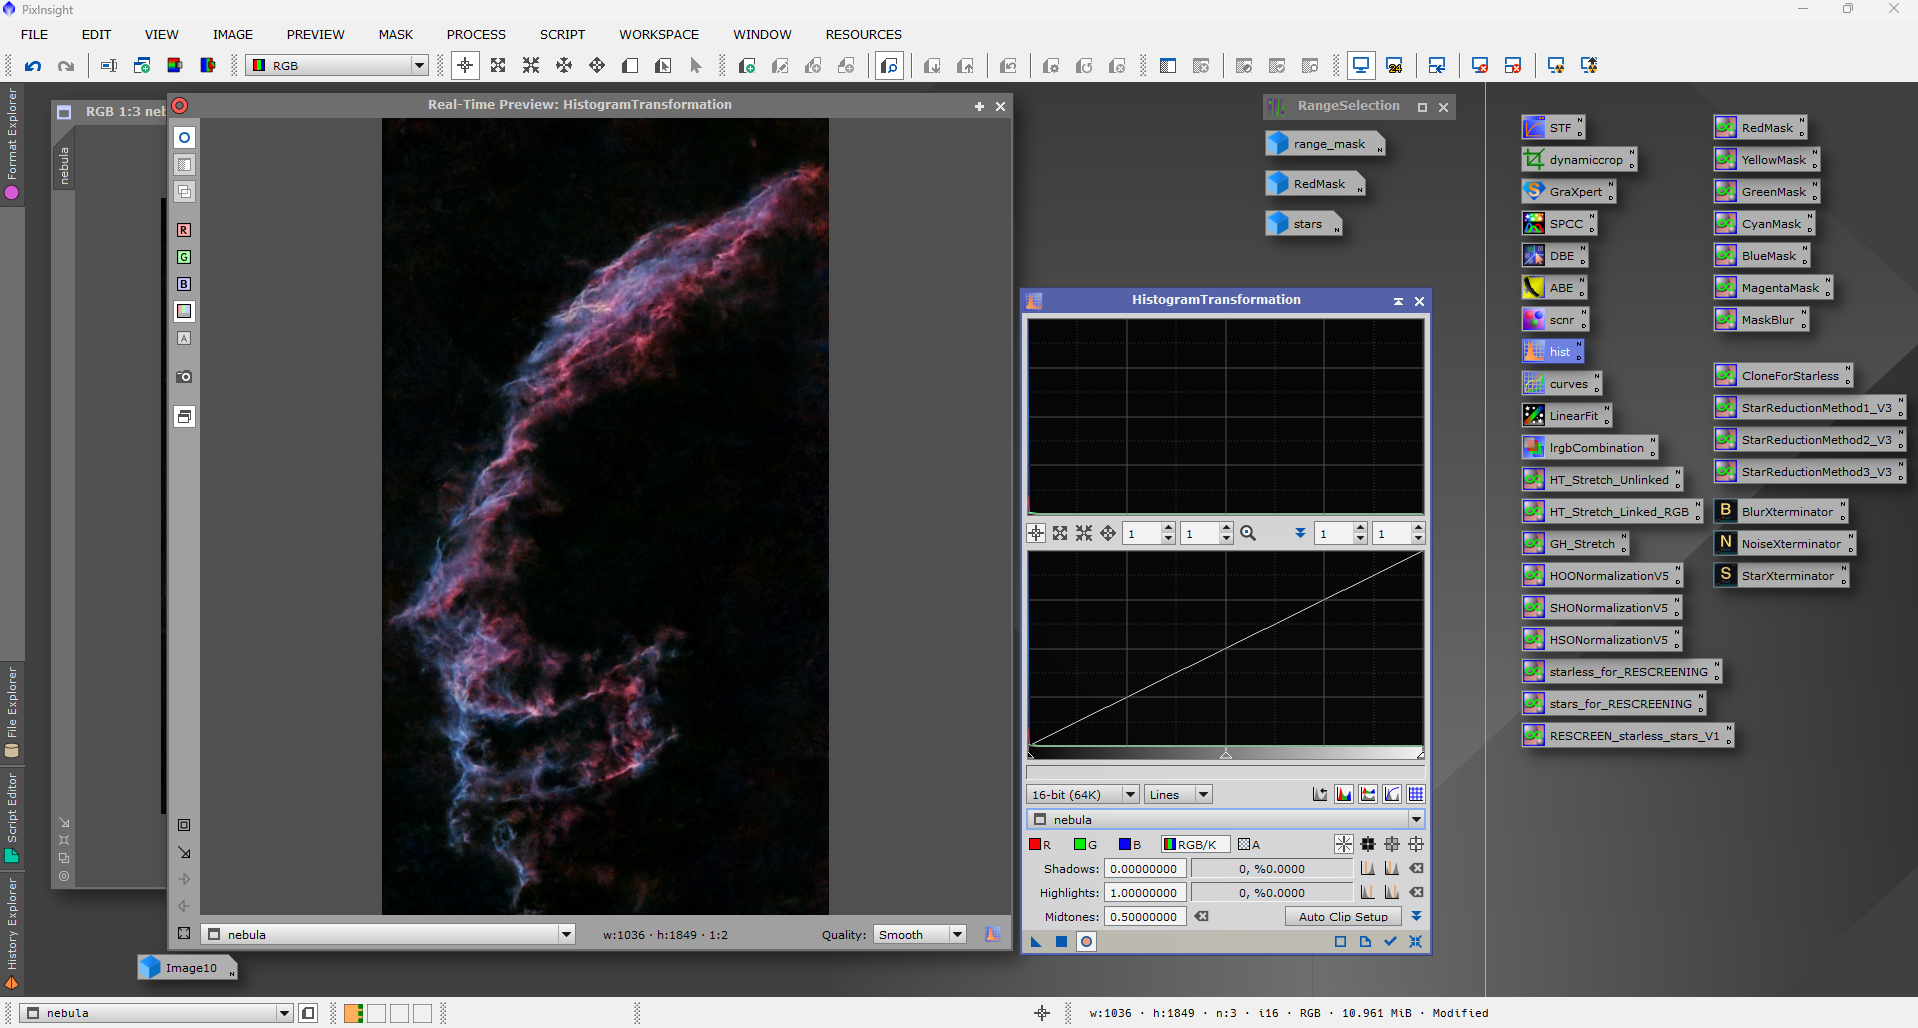
When you first open PixInsight it can feel overwhelming. The interface is unlike traditional photo editors and there are panels, icons and menus everywhere. It is easy to see why many people compare it to a cockpit. Once you understand the layout, though, it quickly becomes clear that everything is designed to give you complete control over your data. <p><em>[Image placeholder: Full PixInsight interface with main panels labelled – Workspace, Process Console, Process Explorer, History Explorer]</em></p>
Understanding the Workspace
PixInsight is built around a flexible workspace. You can open multiple images, previews and process windows at once, and arrange them however you like. Each image sits in its own tabbed window, and you can work across several datasets without losing track. <p><em>[Image placeholder: Cropped screenshot showing Process Console and History Explorer panels highlighted]</em></p>
- Main Workspace: This is where your images and previews are displayed.
- Process Console: Shows the output of every process you run, making it easy to review and diagnose changes.
- Process Explorer: Gives you access to every tool in the software, from calibration to noise reduction.
- History Explorer: Lets you step back through every action you have taken, providing a non-destructive way to refine your work.
Images, Processes and Non-Destructive Editing
One of the biggest differences between PixInsight and traditional image editors is that processes are applied as independent actions. When you run a process, the result is stored as a new state in the image’s history. This means you can always step back or branch off without damaging your original data.
- Processes are modular: Each tool runs independently and can be saved as a process icon.
- Nothing is permanent until you save: Your linear data remains intact until you export or overwrite it.
- Reusability: Any process can be saved and applied to other images for consistent results.
Using Previews to Refine Your Workflow
PixInsight allows you to create previews, which are cropped sections of your image where you can test a process before applying it to the full frame. This is one of the most powerful ways to learn and refine your workflow without committing to changes. <p><em>[Image placeholder: Example of a preview window created inside an image with the rectangle tool]</em></p>
- Create a preview with the rectangle tool on the toolbar.
- Apply processes to the preview to test settings.
- Once you are happy with the results, drag the process onto the full image.
Masks and Process Icons
Two core concepts make PixInsight extremely flexible: <p><em>[Image placeholder: Screenshot showing a mask applied to an image, with saved process icons visible on the workspace]</em></p>
- Masks: These allow you to protect or isolate parts of your image. You can use any image, channel or even a duplicate of the image itself as a mask.
- Process Icons: These save your process settings as a small icon that you can drag onto any other image. This is the first step in building your own repeatable workflows.
A Basic Workflow Structure
At this stage you do not need to know every tool. Focus on understanding the general flow of work:
- Load your data. Start with calibrated and stacked images, or frames that are ready for pre-processing.
- Create previews. Use them to test noise reduction, stretching or colour correction on a small area.
- Apply processes carefully. Use the history to step back if needed.
- Save process icons. If a particular setting works well, keep it for future images.
- Experiment with masks. Begin with simple luminance masks to protect the background or isolate stars.
Building Confidence
The interface will quickly become second nature once you spend some time experimenting. The key is to make full use of previews and the history explorer. Do not be afraid to try something new, as you can always undo or discard a process without affecting your data.
Further Learning
PixInsight offers a range of official tutorials that walk through the software step by step, from beginner topics to advanced techniques. These are an excellent way to reinforce what you have learnt and expand your skills with structured guidance straight from the developers. You can find them here: PixInsight Tutorials.